Sewing

Sewing: McCall’s M7948

Pattern: McCall’s 7948, View D
Fabric: 100% Linen
Size Made: 14, with modifications

This is the second time I’ve made this dress, with a few modifications based on the first. It’s a really straightforward project to sew, with the only fiddly bits being setting in the sleeves, and the back keyhole in the neckline (which I eliminated this time!).

I made several changes to the front and back bodice. I lowered the neckline so it would fit over my head without the need for the keyhole opening, and finished it all around with bias binding made from my main fabric. I used the neckline from my all-time favourite dress: View P from Formal & Little Black Dress by Yoshiko Tsukiori. I also narrowed the bodice pieces to match this dress, as the upper body in the McCall’s pattern was a little wide for me.

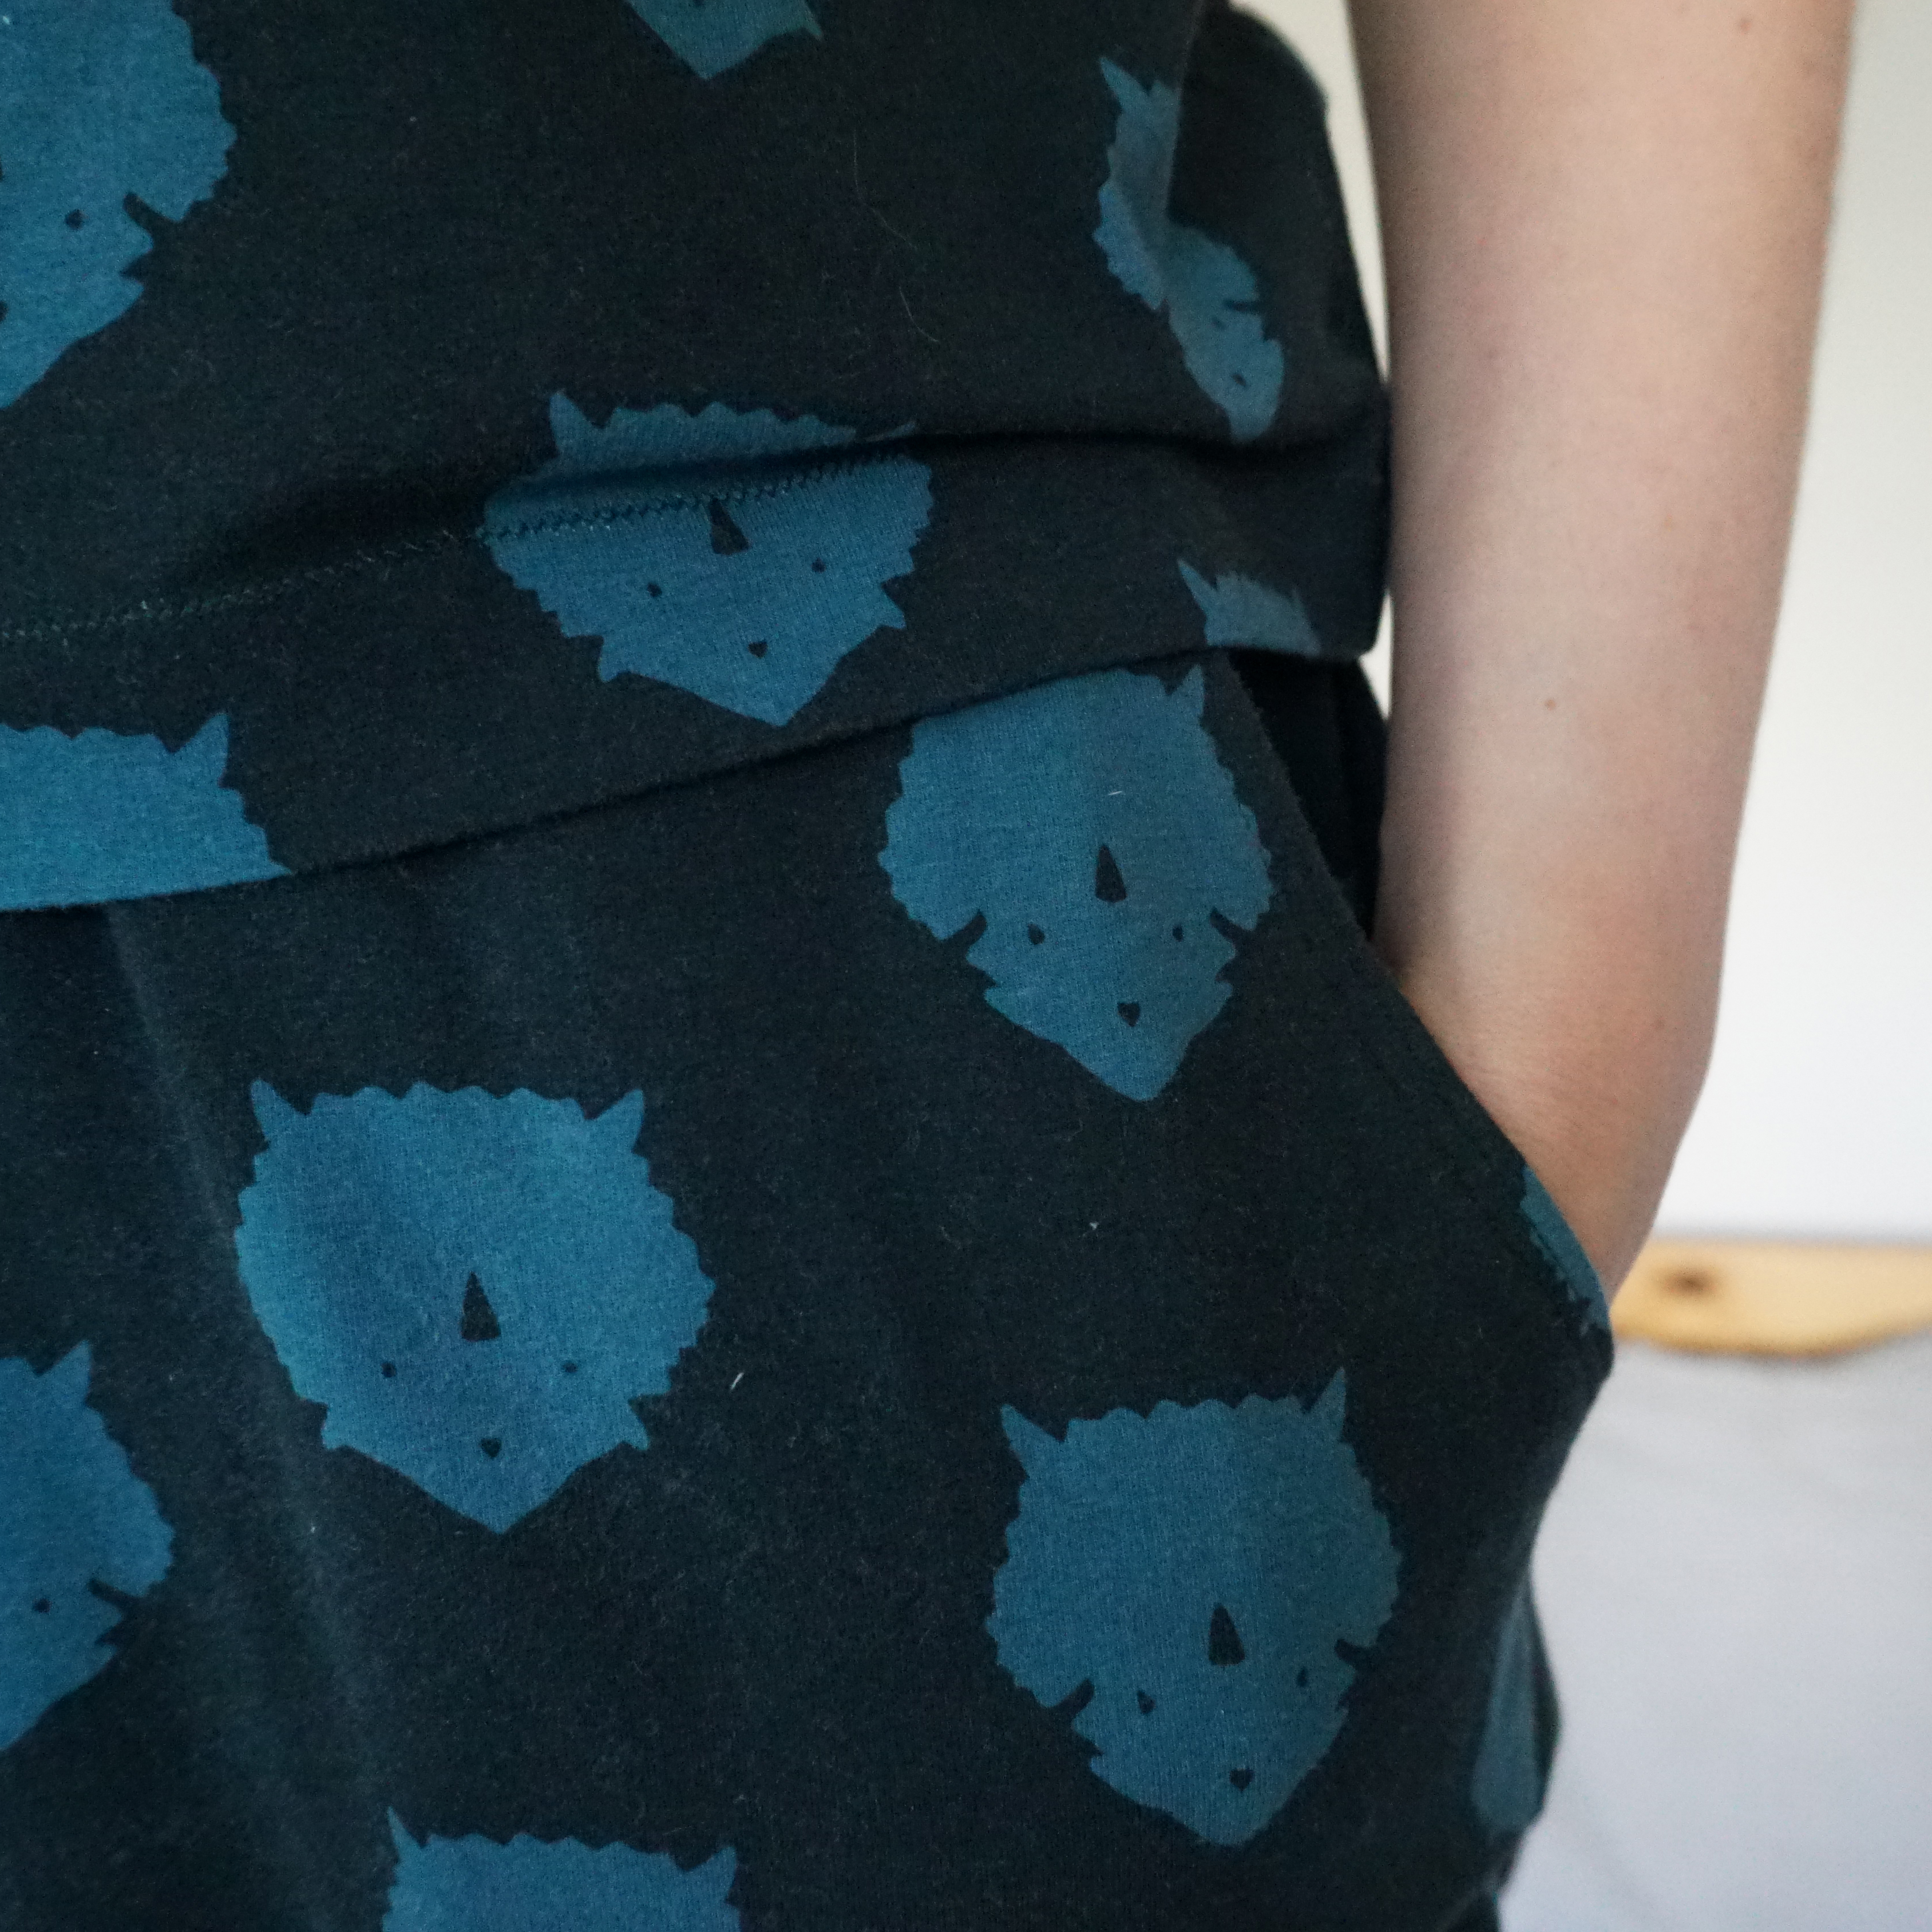
According to the pattern, view D does not have pockets, but pockets are included for views A and B. I used these the first time I made the dress, but found the openings were longer than the side seams of the skirt’s top tier, making them a bit awkward-looking. This time I used smaller, self-drafted inseam pockets that I add to any dress or skirt that doesn’t have them. They worked a treat!

Overall, a very happy sewing project that I’ve barely taken off since finishing. Extremely comfortable, practical and easy to make.

Sewing

Sewing: Dino Pyjamas

1

PYJAMA TOP
Pattern: Simplicity 8376, View 1
Fabric: 95% Cotton 5% Spandex jersey with Triceratops print, and 100% cotton jersey for neckband
Size Made: M

PYJAMA BOTTOM
Pattern: Burda 6659, View A
Fabric: 95% Cotton 5% Spandex jersey with Triceratops print, and 100% cotton jersey for waistband and cuffs
Size Made: 44

This project was an unexpected success! I’d had this dinosaur jersey sitting around for some time, intending to get to grips with my overlocker which I still haven’t done. Instead, I sewed these pyjamas entirely using the zig zag stitch on my normal sewing machine. They were a surprisingly quick and easy make, with very satisfying results.

8

I made the bottoms first, with very few modifications from the pattern. The only change I planned to make was to not include a drawstring at the waist. However, when it came to fitting the waistband I didn’t have any narrow elastic handy, so instead of two bands of narrow elastic I opted for a single band of wide. Otherwise I made no changes and I’m frankly astounded by how well these fit!

3

With the top, I changed the shape of the front and back pieces, which tapered in at the waist and out again at the hip. I simplified the shape by drawing a straight line from underarm to hem, more like a standard t shirt. I’m really happy with the finished shape and I’d make it exactly the same again.

4

The Burda pattern (trousers) was labelled ‘easy’, and it certainly was, but the instructions were very brief and so I don’t think the pattern would be suitable for a beginner without any support. The Simplicity pattern, however, was quite detailed and more accessible, and I think would make quite a good first jersey sewing project.

2

I’ve pretty much not taken these pyjamas off since finishing them. They’re incredibly comfortable, I’m pleased with the fit and I definitely plan to make more. They feel like the right clothes for 2020.

Sewing

Sewing: The Paule Jumpsuit

IMG_20200815_130304

Pattern: Paule by Republique du Chiffon
Fabric: Pistachio 100% Linen
Size Made: 38 on top graded to 44 on the bottom

My search continues for the perfect jumpsuit. I picked this pattern to try because I love the tie details on the shoulders, and the interesting seam construction that joins the top and bottom of the jumpsuit on the diagonal rather than a traditional waistband. I enjoyed making it; the instructions were clear and I found it quite simple to sew given that there are no fastenings to handle. Just a lot of bias binding!

IMG_20200815_130634

Drafting between sizes was relatively straightforward, though I will say the size range available for this project is not extensive. I drew a curve from size 38 at the top out to size 44 at the bottom of the front and back top pieces. For the trousers, I made size 44 without alteration.

Even though I chose the correct size for my bust, the fit was very wide in the shoulders and kept falling off. You’ll see that I’ve added a small box pleat to the front and back neckline: this brings the straps closer together and makes a better fit, but I also like how it looks and I’ll definitely include this detail if I make another version of this jumpsuit.

IMG_20200815_130345

Because I was feeling annoyed about this being yet another pattern where my the standardised sizes didn’t represent my body (do they ever represent anyone?!), I added a F*CK SIZES label in the waist seam. These are made by Stitch Collective and I purchased mine from Craft & Thrift Shop.

IMG_20200815_130511

Overall, I wasn’t thrilled with this garment when I finished it, BUT it has been incredibly comfortable to move about in during the recent spell of hot weather. I think it might be a win after all!

IMG_20200815_130300